
Webhook
Connect Usersnap via Webhook with your enterprise solutions
This is a gated featurePlease contact our support for more details. customer success team
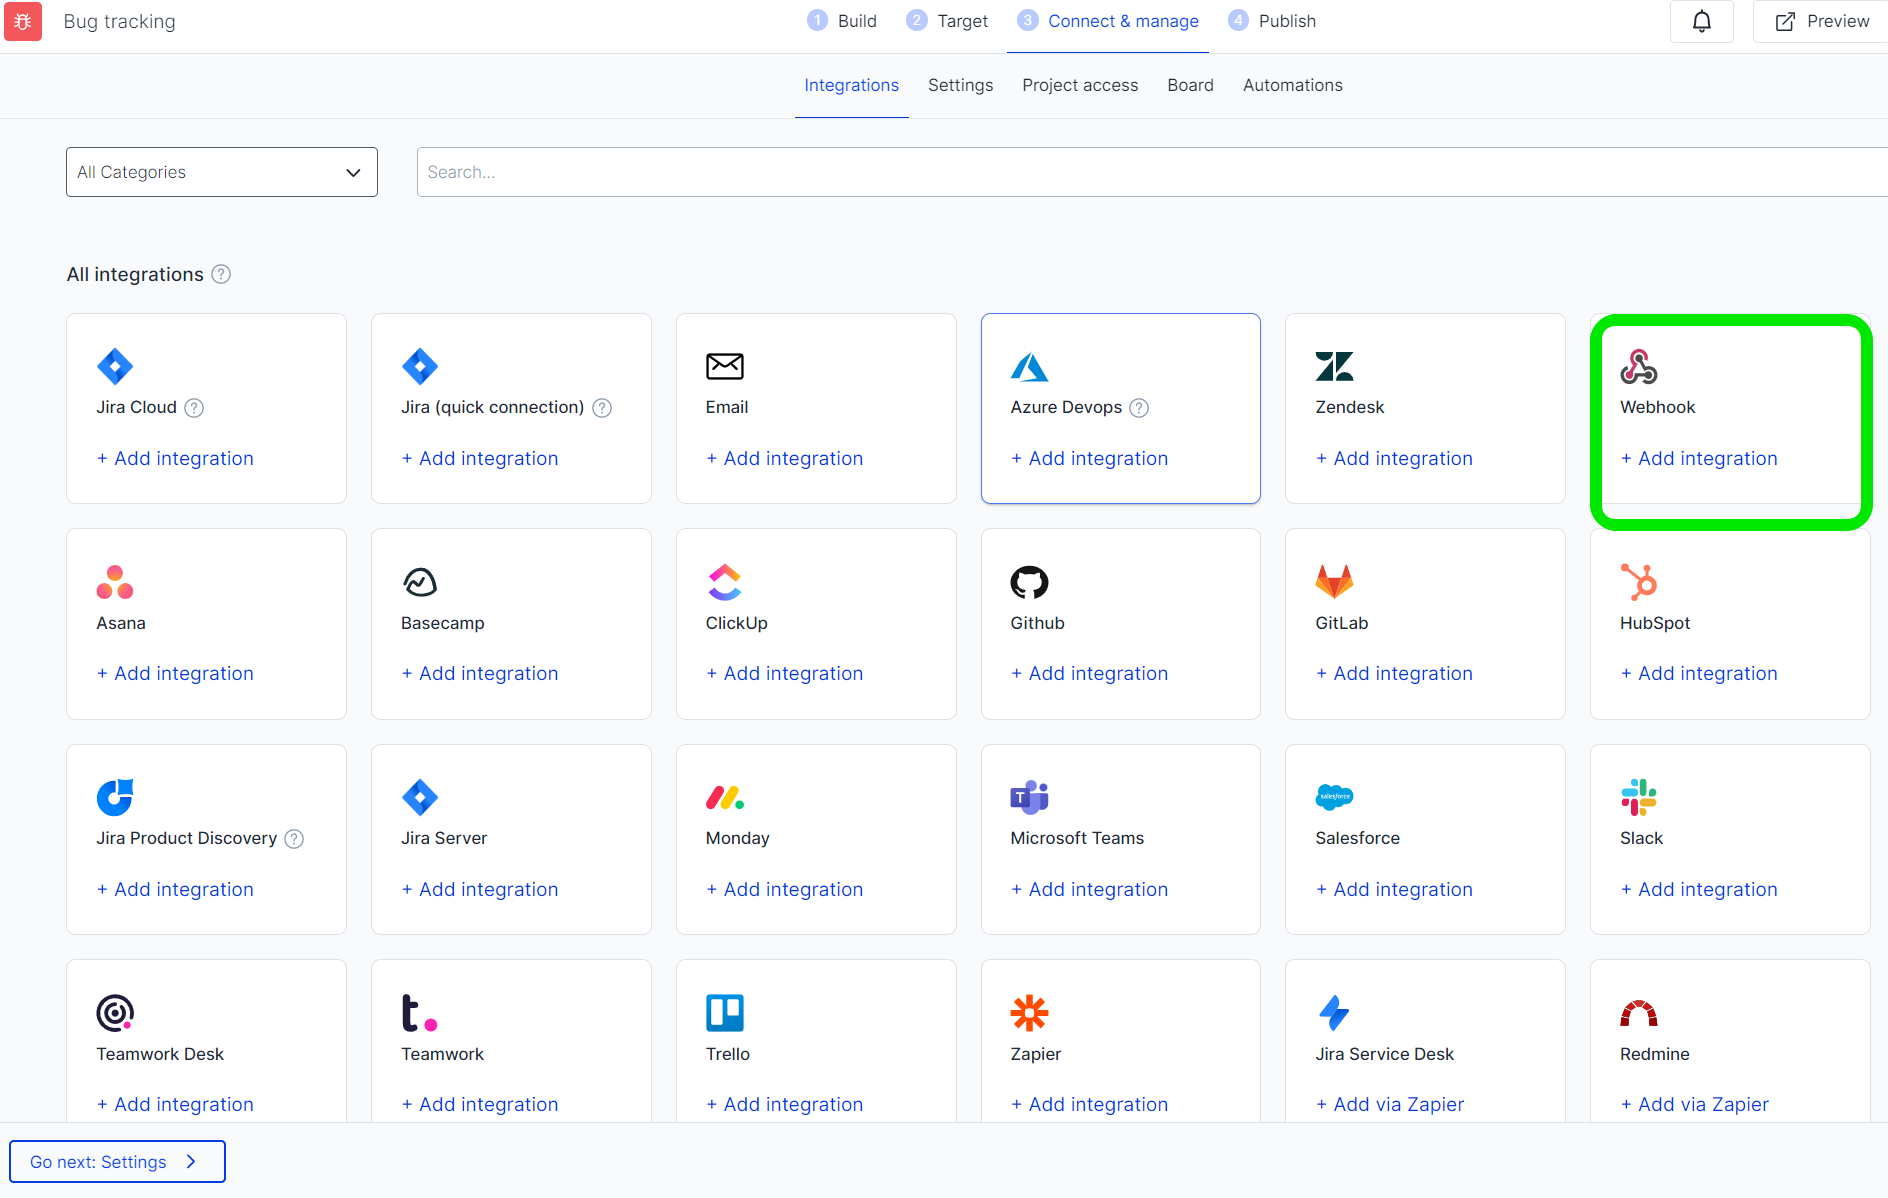
Usersnap lets you easily set up a webhook integration. Go to your Usersnap project’s integration tab and select Webhook from the grid.
Next, enter the webhook URL.
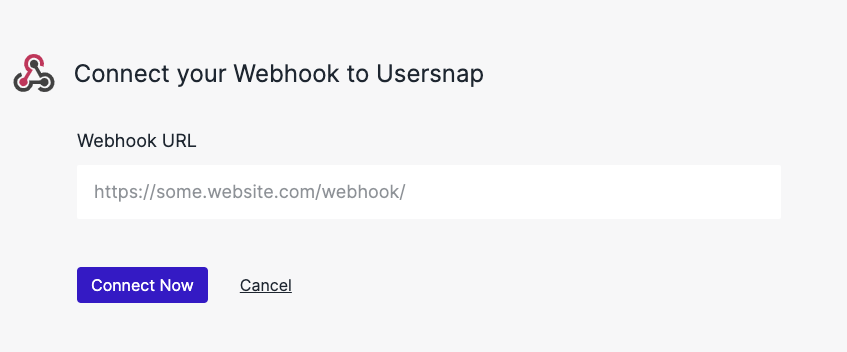
Usersnap will create a security token for this integration. You will need this security token to verify requests arriving at your endpoint. The rest of the page describes how to do it.

How does the request look like

Where the JSON values are:
{
  "feedback_number": 1000,
  "link": "https://app.usersnap.com/l/feedback/45a5c97d-2a8f-46c0-90b6-d6089192b161",
  "client": {
    "url": "https://app.usersnap.com/",
    "user_agent": "Mozilla/5.0 (Windows NT 10.0; Win64; x64) AppleWebKit/537.36 (KHTML, like Gecko) Chrome/78.0.3904.108 Safari/537.36",
    "screen_width": 1200,
    "screen_height": 1200,
    "client": "Chrome",
  },
"screenshot url":"https://resources.usersnap.com/company/32a9ea76-598f-4aaa-8dda-a2fa587ae750/datapoint_screenshot/test_12a9ea76-598f-4aaa-8dda-a2fa587ae752.png?etag=+DUkDMD/UbEZs6Y+RVWNEg==",
  "comment": {
    "text": "This example feedback will show if your integration setup is correct"
  },
  "geo": {
    "ip_address": "123.123.123.123"
  },
  "fields": [
    {
      "order": 0,
      "label": "Title",
      "boolean_value": null,
      "text_value": "Sample feedback",
      "value": "Sample feedback"
    },
    {
      "order": 1,
      "label": "Comment",
      "boolean_value": null,
      "text_value": "This example feedback will show if your integration setup is correct",
      "value": "This example feedback will show if your integration setup is correct"
    }
  ],
  "rating": {
    "value": 1
  },
  "request": {
    "text": "Sample feedback"
  },
  "state": {
    "identifier": "open"
  },
  "visitor": {
    "email": "[email protected]"
  }
}
Keep in mind that our servers will be checking the response status code. If your script returns an HTTP status code that is different from 200, we will retry the delivery process several times.
Verify a request from webhook integration
Usersnap send two headers alongside every webhook request:
X-Usersnap-SignatureX-Usersnap-Timestamp
X-Usersnap-Signature is the HMAC SHA-256 of the request body. X-Usersnap-Timestamp contains a timestamp associated with this request. This timestamp is included as an input to the calculation of the signature hash to prevent time replay attacks.
The two headers can be used by consumers of the Webhook integration to verify that the request comes from Usersnap, and not from someone else. The following code snippet shows how this can be done (the example uses Python and Flask, but the same principle would apply for any other language/framework).
First, let's set up the necessary imports.
from flask import Flask, jsonify, request
import base64
from hashlib import sha256
import hmac
import json
import datetime
import time
import sys
For the sake of this example, we've set up a route handler in Flask which accepts POST requests.
@app.route("/webhook-file", methods=["POST"])
def webhook_with_file():
Next, we need the binary data of the request itself.
@app.route("/webhook-file", methods=["POST"])
def webhook_with_file():
    data = request.get_data()
Next, calculate an HMAC SHA-256 hash of this request body using the secret you get from Usersnap.
@app.route("/webhook-file", methods=["POST"])
def webhook_with_file():
    data = request.get_data()
    hmac_hash = hmac.new(
        SHARED_SECRET.encode("utf-8"),
        data,
        digestmod=sha256,
    )
Next, get the timestamp from the X-Usersnap-Timestamp header, and use it to update the HMAC hash.
@app.route("/webhook-file", methods=["POST"])
def webhook_with_file():
    data = request.get_data()
    hmac_hash = hmac.new(
        SHARED_SECRET.encode("utf-8"),
        data,
        digestmod=sha256,
    )
    header_timestamp = request.headers.get("X-Usersnap-Timestamp")
    header_timestamp = int(header_timestamp)
    timestamp_bytes = header_timestamp.to_bytes(32, "little")
    hmac_hash.update(timestamp_bytes)
Finally, get the hexdigest from the hmac_hash, and compare it with the signature in X-Usersnap-Signature. If they match, you're good to go. If they don't, you can reject the request with a non-200 status code.
@app.route("/webhook-file", methods=["POST"])
def webhook_with_file():
    data = request.get_data()
    hmac_hash = hmac.new(
        SHARED_SECRET.encode("utf-8"),
        data,
        digestmod=sha256,
    )
    header_timestamp = request.headers.get("X-Usersnap-Timestamp")
    header_timestamp = int(header_timestamp)
    timestamp_bytes = header_timestamp.to_bytes(32, "little")
    hmac_hash.update(timestamp_bytes)
    expected_signature = hmac_hash.hexdigest()

    header_signature = request.headers.get("X-Usersnap-Signature")

    match = hmac.compare_digest(header_signature, expected_signature)
NodeJS example using ExpressJS
The steps for verifying a request using ExpressJS are very similar to the steps described for the Flask.
The example can be found in our public Github repository.
Updated about 1 year ago